Definition
The way I see it, there are two definitions for the word dialed in BMX. Firstly the phrase is used in regards to landing bike tricks. One may say “I have finally got that trick dialed in.”, basically meaning a rider is so comfortable performing a specific trick that they land it casually almost every time.
The definition we’re going to be talking about today is concerned with the bike itself. A rider may say “I fixed my bike, it’s now dialed in”.
It’s relatively easy to define this phrase. You would say your bike is dialed in when it sounds perfect, doesn’t make any unwanted noises and there’s nothing left to fix. Saying a bike is dialed is basically a way of complimenting the owner of their quality of maintenance.
Many riders will prove how dialed their bike is by lifting it slightly off the floor and dropping it. A dialed bike won’t make any noise other than the tires[] hitting the floor.
Benefits of a Dialed In Bike

Having a dialed in bike isn’t essential. Many riders, especially the lazy ones, won’t even worry themselves with this. Having said this, you will see benefits from regular maintenance on your bike. Here are some benefits of trying to keep your bike dialed.
It’s a bit boring reading this in every cycling article but the first answer is safety. I feel I need to include this point here as I have suffered an injury from lack of maintenance in the past.
Forgetting to keep your bike maintained is so easy. In my case I was learning to grind different types of edges on the same side as my chain. Repeating this many times beat my chain up[] and I ended up snapping the chain just as I went to pedal hard. I went straight over the bars and injured various parts of my body.
Quality and value is the next benefit of keeping your bike dialed in. Bikes are expensive and are quite a large investment for many people. Keeping your parts from wearing, rubbing and chipping will prolong their life tremendously, thus keeping their value should you decide to sell them in the future.
Best BMX Helmets
Helmets are the most important aspect of bike riding that doesn’t actually come into contact with your bike. Make sure the helmet you’re buying is up to the job.
Tighten your Bolts

As anyone who has ever repetitively used an object fastened with bolts will know, bolts will always find a way to come loose. The vibrations, bouncing and constant unplanned forces will flow through you and your bike every session.
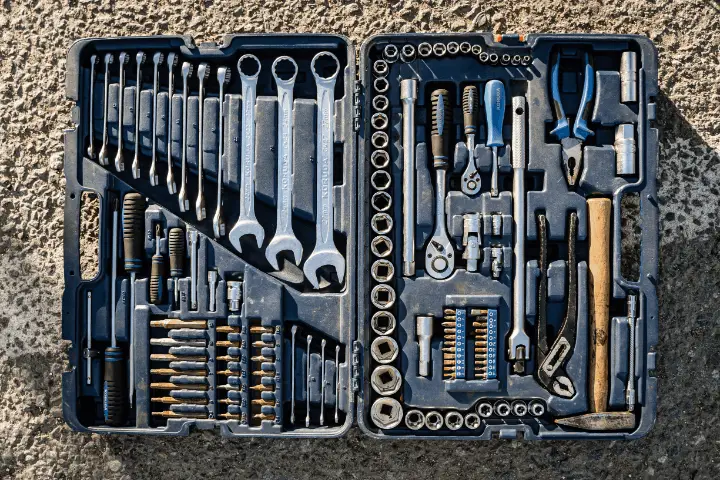
I would advise you to double check and tighten your bolts every 2 or 3 sessions or simply take an allen key with you whenever you go riding.
Many of your parts won’t make it obvious that they need replacing until it’s too late. Loose wheels can easily fall out of their dropouts if not properly tightened, Loose crank arms can destroy the splines on your bottom bracket and while it’s easier to notice, a loose stem can quickly flatten your bars after a big drop.
If you aren’t experienced with BMX bikes, the main areas I would recommend that you check are: Stem[] bars and forks, wheels, pedals and cranks.
Clean and Grease
Washing your bike will do a lot more than just making it look nice, it will also remove any harmful dirt contaminants and other rough elements. Cleaning a super dirty bike can also bring out any hidden cracks you might have missed. Spotting these hidden cracks before going out riding is important and will prevent possible injuries.
Any piece of metal machinery needs to be lubricated regularly in order to run smoothly and resist rust. Keeping your BMX well lubricated will prevent general wear and tear on the internal parts.
Whenever you take the more technical parts of your bike apart (e.g. hubs and bottom brackets) it’s very important that you clean the parts off and load them up with fresh grease. The bearings in these areas are by far the most worn parts on the bike and if there’s dirt or old grease in these bearings the bike won’t remain dialed for very long.
You should also look to spray some form of lubricant, such as WD40[] on the external bolts and parts every so often. Many of the parts on your bike likely won’t be removed for long periods of time so spraying some lubricant on the bolts will keep them rust free and easy to remove.
One final thing to mention. If you have brakes on your BMX, there’s no bigger pain than getting spray lubricant on your braking surfaces. You should go out of your way to prevent this from happening.
Spokes and Wheels

Wheels and spokes can prove to be one of the most tedious and tricky aspects of a BMX to maintain. Using your spokes to straighten a bent rim is a tough skill to acquire so it’s much easier to keep your wheels true and dialed before you need to do this.
Your bike’s wheels probably take the hardest beating of any bike part. Spokes commonly come loose and often break without being obvious before it’s too late. Grab yourself a spoke spanner[] and spend some time with your wheels every month or so. Don’t tighten any spokes past their natural resistance. Loose spokes will allow a rim to bend easily and over tightening spokes will bend the rim itself.
Keeping tight spokes on a BMX is more important than most bikes as the frequency of rotational forces being applied to the smaller wheels is much higher without any suspension.
If you don’t have a spoke key on hand there’s a simple, effective way of determining whether you need to tighten them. On each pair of spokes pinch them together slightly above the crossover point. If they move any more than a few millimetres then they need tightening.
Brakes

It’s not common at all to see brakes on a BMX bike anymore. This makes it even less common for them to be installed correctly. Having brakes that aren’t maintained and working correctly is a great persuader to simply go without.
The first step to take when dialling in your BMX U-Brakes is testing. You need to carefully inspect the pads, brake cable and the functionality. Are your brake pads wearing down at different amounts? When pulling the brake levers are the pads hitting the rims at the same time? Are your pads touching the rims before your levers reach their limit? These are important questions you need to ask before messing with your brakes.
Depending on the different issues your brakes have dictates the changes you’re going to make to your brakes.
Are your pads making contact with the rim at different times? If yes, use an allen key and spanner on one of the brake arms. Tightening or loosening the arm will move the pad closer or further from the rim. While doing this pull your brakes regularly to test if your changes have had the desired effect.
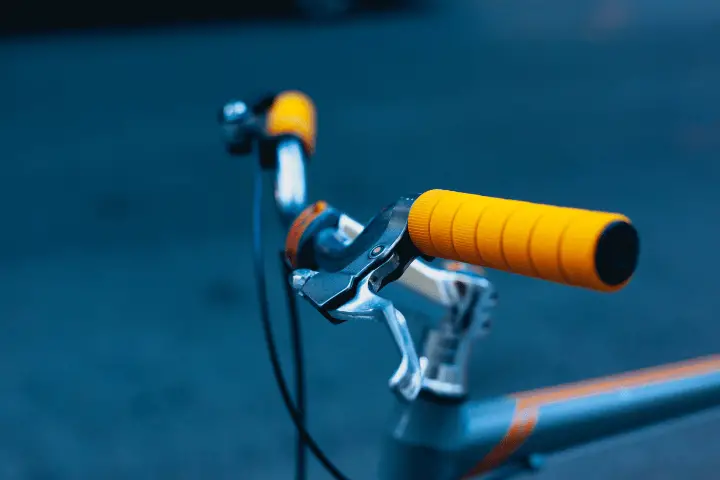
The next change is different for every rider. You need to decide how much you like to pull your brake lever before accessing 100% braking power. Changing this is super simple. Take a look at where the brake cable meets the brake lever, there is nearly always a form of screw around the cable. Tightening or loosening this will alter the distance the brake lever is able to move.
Next you need good lubrication, something like WD-40 is great. Spray a small amount into the brake cable at every opening after a few months of riding. If you have a gyro[] you will need to do this everywhere the cable is mounted. Be careful not to get any of this oil on your rims.
My final recommendation for brakes is cleanliness. Keep your rim and pads as clean as possible. Dirt, oil and other contaminants will prevent your pads from binding with the metal of the rim properly.
Brake Maintenance
Chain
As I mentioned before, a damaged chain resulted in a bad injury for me at the skatepark. Make sure yours is safe to ride.
One main aspect of a dialed bike is the sound it makes when dropped from a low height. When a bike makes lots of noise it’s often let down by a bad chain. If you’re looking for a dialed bike that’s also a lot safer make sure to check on your chain.
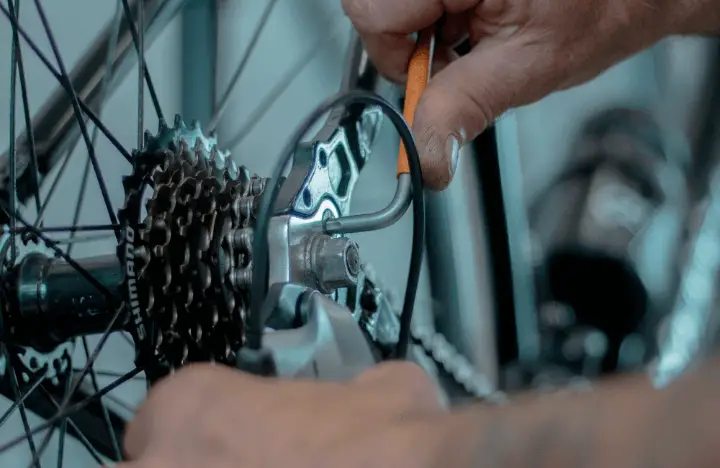
Firstly, give your chain a quick look over and make sure there’s no damage. If links are bent or pins are starting to push out then it might be time for a new chain[]. The next step needs to be tension.
Whether you use chain tensioners or just tighten your chain manually you need to make sure it’s done right. When tightening your chain you can mis-align your wheel and damage the tire, frame and chain after taking a big drop. Your axle also needs to be adequately tightened as a big fall or drop at the wrong angle will move or bend your axle the wrong way.
Once your chain is on correctly and is riding without much noise you need to make sure it’s taken care of for the future.

